 By Editorial Team
Key Takeaways
- Configure your AI onboarding platform’s journey builder by mapping each user segment to a tailored series of steps, including interactive product tours and personalized content recommendations.
- Integrate CRM data and behavioral analytics from platforms like Adobe Experience Platform to dynamically adjust onboarding paths based on real-time user engagement and progression.
- Implement A/B testing within your AI onboarding flows, specifically testing variations in call-to-action button text and the timing of proactive support prompts to identify conversion improvements.
- Establish clear performance metrics within your analytics dashboard, focusing on feature adoption rates, time to first value, and churn reduction to quantify the impact of AI-driven onboarding.
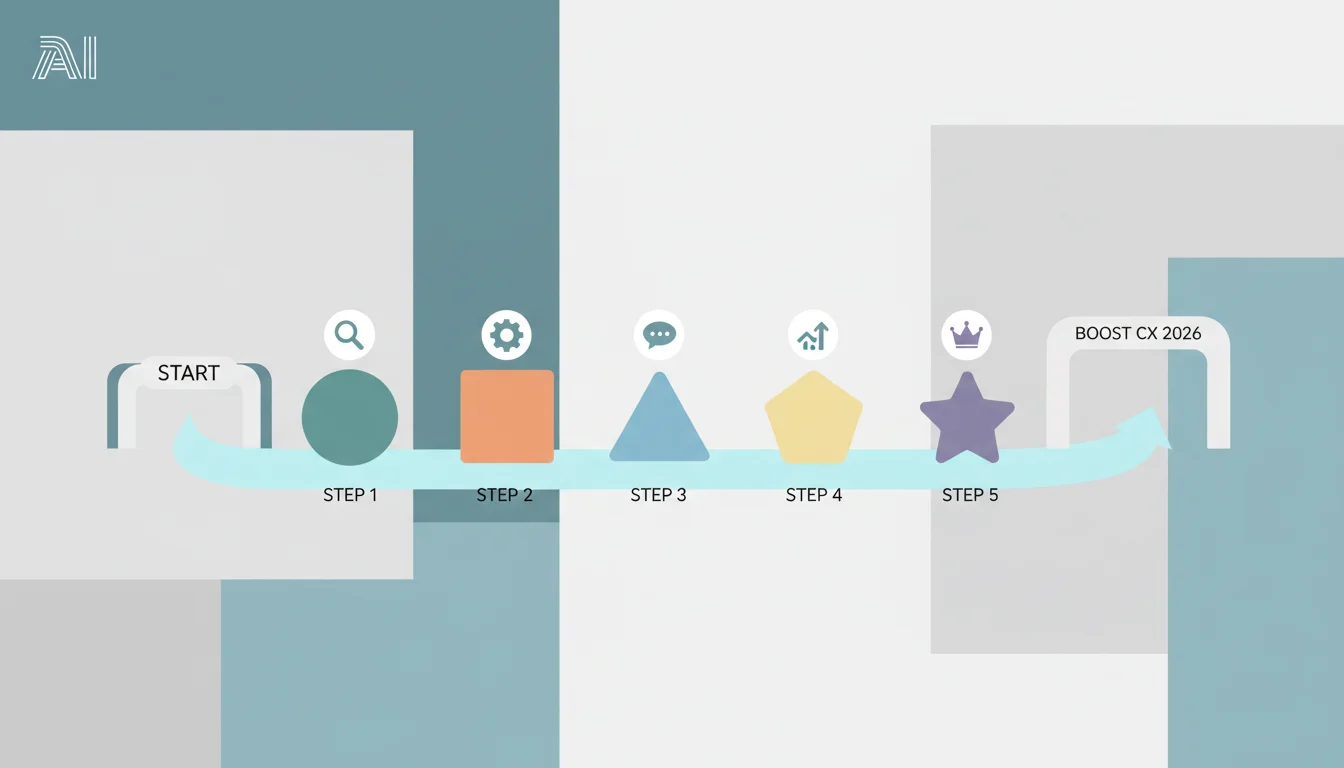
Crafting effective AI onboarding experiences is no longer a luxury. It’s a fundamental requirement for driving sustained customer experience and ensuring high user adoption. In 2026, the sophistication of AI-driven platforms allows for unprecedented personalization, moving far beyond static welcome emails. The goal is to anticipate user needs, guide them intuitively, and accelerate their journey to realizing product value. How do you build an AI onboarding system that genuinely resonates with every new user?
Step 1: Define User Segments and Onboarding Goals
Before you even open your AI onboarding platform, you need a clear understanding of who your users are and what success looks like for each group. This foundational work prevents you from building a generic flow that satisfies no one. I’ve seen too many organizations jump straight into tool configuration without this critical preliminary step, leading to diluted results and wasted development cycles.
1.1 Conduct Complete User Research and Persona Development
Start by analyzing your existing customer data. Look at demographics, psychographics, and past behavioral patterns. Tools like Hotjar can provide heatmaps and session recordings to understand initial user interactions, while CRM data from Salesforce or HubSpot reveals purchase history and support inquiries. Create detailed user personas, perhaps three to five core archetypes, each with specific pain points, motivations, and desired outcomes. For instance, a persona might be “Sarah, the Small Business Owner,” whose primary goal is to automate invoicing within the first 48 hours of using your accounting software.
1.2 Map Key Milestones and “Aha!” Moments for Each Persona
For every persona, identify the critical actions they need to take to achieve their initial goal and experience the core value of your product. These are your “aha!” moments. For Sarah, it might be successfully sending her first automated invoice. For a “Developer Dan,” using an API integration, it could be the successful execution of his first custom script. Document these milestones. This isn’t just about product features. It’s about the tangible benefits users gain. According to a HubSpot report on customer success, companies that clearly define and guide users to their “aha!” moment see a 15% higher retention rate in the first three months.
1.3 Establish Quantifiable Onboarding Success Metrics
What does a successful onboarding look like? Define measurable metrics for each persona. This could include: time to first value (TTV), feature adoption rate (e.g., percentage of users who use Feature X within 7 days), conversion rates for specific in-app actions, or even a reduction in support tickets related to initial setup. Without these metrics, you’re flying blind. For example, your target for Sarah might be “80% of Small Business Owners successfully send an invoice within 24 hours of account creation.” Make these targets aggressive but achievable, and ensure they directly tie back to your business objectives.
Step 2: Configure Your AI Onboarding Platform’s Journey Builder
Once your strategy is clear, it’s time to translate it into your chosen AI onboarding platform. For this tutorial, we’ll use a hypothetical but representative platform, “IntelliGuide AI,” which mirrors the capabilities of leading enterprise solutions in 2026. This step involves setting up the core logic that will dynamically adapt the onboarding experience.
2.1 Navigate to the “Journey Orchestration” Module
In IntelliGuide AI, after logging in, you’ll see the main dashboard. On the left-hand navigation pane, locate and click on “Journey Orchestration.” This module is your central hub for designing and managing user flows. Within this section, select “New Journey” to begin building a fresh onboarding path. You’ll be prompted to name your journey. Use a descriptive name like “Small Business Owner Onboarding – Automated Invoicing.”
2.2 Define Entry Conditions and User Segmentation Rules
This is where your persona work pays off. In the “Journey Orchestration” module, under “Entry Conditions,” you’ll set the rules that determine which users enter this specific onboarding path. IntelliGuide AI allows for complex rule sets. You might configure it as: “User Role IS ‘Small Business Owner’ AND Account Creation Date IS within the last 24 hours AND First Login Event HAS occurred.” You can pull these attributes directly from your integrated CRM systems, ensuring precise targeting. This dynamic segmentation is critical. It ensures that Sarah doesn’t get an onboarding flow designed for Developer Dan.
2.3 Design Dynamic Onboarding Steps and Content
- Drag-and-Drop Step Builder: Within the journey canvas, you’ll find a palette of actions on the left. Drag a “Welcome Message” component onto the canvas as your first step. Configure its content to greet the user by name and briefly state the primary goal of their onboarding (e.g., “Welcome, Sarah! Let’s get your first invoice sent today.”).
- Interactive Product Tours: Next, drag a “Product Tour” component. This is where AI truly shines. Link this tour to a specific sequence of in-app actions. For Sarah, this would be a guided tour through the invoicing module: “Click ‘New Invoice’ > ‘Add Client’ > ‘Add Item’ > ‘Send’.” IntelliGuide AI uses machine vision to identify UI elements, so you simply highlight the relevant buttons and fields during the tour creation process.
- Conditional Branching: After the product tour, introduce a “Conditional Branch” component. This allows the journey to adapt based on user behavior. Set a condition like “User Has Completed ‘Send First Invoice’ Tour IS TRUE.” If true, guide them to the next step. If false, branch them to a “Reminder Email” or a “Proactive Chat Support” prompt. This prevents users from getting stuck.
- Personalized Content Recommendations: For users who complete the core task, drag a “Content Recommendation” component. Based on Sarah’s persona, IntelliGuide AI can suggest relevant articles from your knowledge base (e.g., “Advanced Invoice Customization Tips”) or even short video tutorials. The AI engine analyzes user engagement with previous content to refine these suggestions over time.
Pro Tip: Don’t overwhelm users. Keep each step concise and focused on a single action or piece of information. The average attention span for onboarding content is surprisingly short. Aim for micro-learning experiences.
Step 3: Integrate Data Sources for Behavioral Triggers and Personalization
The power of AI onboarding lies in its ability to react to user behavior in real-time. This requires strong data integration. Without a unified view of the user, your AI is essentially blind, unable to make informed decisions.
3.1 Connect CRM and Analytics Platforms
Within IntelliGuide AI, navigate to the “Integrations” section (usually found under “Settings” or directly on the main dashboard). Here, you’ll connect your primary CRM (e.g., Salesforce, Zoho CRM) and your analytics platform (e.g., Adobe Experience Platform, Google Analytics 4). Ensure that user IDs are consistently mapped across all systems to create a unified customer profile. This allows IntelliGuide AI to pull in demographic data, purchase history, and past interactions to enrich the onboarding experience.
3.2 Configure Event Tracking for Key User Actions
Work with your development team to ensure that critical in-app events are being tracked and sent to IntelliGuide AI. These events are the triggers for your dynamic onboarding. Examples include: “Account Created,” “First Login,” “Feature X Used,” “Trial Expired,” “Support Ticket Created.” In IntelliGuide AI’s “Event Listener” sub-module within “Integrations,” you’ll define these events and map them to specific user attributes. For instance, the “First Login” event should update the “Last Login Date” attribute for the user.
3.3 Implement AI-Driven Content Personalization
Use the AI engine within IntelliGuide AI to personalize content beyond simple segment rules. Under the “Content Recommendations” component in your journey, select “AI-Driven Personalization.” This mode allows the system to analyze a user’s real-time interactions, past content consumption, and even their industry (pulled from CRM) to suggest the most relevant help articles, video tutorials, or even in-app tips. For example, if Sarah spends an unusual amount of time on the “Reports” section, the AI might proactively suggest a tutorial on “Generating Quarterly Financial Reports.” This level of proactive, intelligent guidance significantly boosts user adoption.
Step 4: A/B Testing and Iterative Optimization
An AI onboarding journey is never truly “finished.” It requires continuous testing and refinement to maximize its effectiveness. This is where many companies fall short, setting up a system and then forgetting about it. The market changes, user behaviors evolve, and your product updates. Your onboarding must adapt.
4.1 Set Up A/B Tests for Key Journey Elements
Within the “Journey Orchestration” module, IntelliGuide AI has an integrated A/B testing feature. Select a specific step in your journey, such as a welcome message or a call-to-action button within a product tour. Click the “Create A/B Test” icon. You might test two versions of a welcome message: one emphasizing speed of setup, and another highlighting long-term benefits. Or, test two different calls-to-action on your “Send First Invoice” step: “Send Invoice Now” vs. “Complete Your First Invoice.” Assign a percentage of users to each variation (e.g., 50% to A, 50% to B) and define your success metric (e.g., completion rate of the next step). My experience suggests that even small changes to button text can yield a 3-5% improvement in conversion rates on critical onboarding steps.
4.2 Monitor Performance Metrics and User Feedback
Regularly review the performance dashboard in IntelliGuide AI. Pay close attention to the time to first value for each persona, feature adoption rates, and the completion rates of your onboarding journeys. Integrate feedback loops: use in-app surveys (e.g., a simple “Was this guide helpful?” prompt after a product tour) or monitor support tickets specifically related to initial setup. If a particular step consistently has a high drop-off rate, it’s a clear indicator that something needs to be adjusted. Maybe the instructions are unclear, or the required action is too complex. Don’t be afraid to scrap an entire step if it’s not performing. This is not a static process.
4.3 Iterate and Refine Based on Data
Once an A/B test concludes and you have statistically significant results, implement the winning variation. Then, identify the next area for improvement. Perhaps users are completing the initial setup but not engaging with advanced features. You might then introduce a new conditional branch that offers a “Deep Dive” product tour for specific features after 7 days of active use. The iterative process of “test, analyze, refine” is continuous. This dynamic approach ensures your AI onboarding remains effective and responsive to evolving user needs, truly enhancing the customer experience over time.
Step 5: Proactive Support and Ongoing Engagement
Onboarding doesn’t end when a user completes the initial setup. True AI-driven onboarding extends into ongoing engagement, anticipating future needs and providing proactive support.
5.1 Implement AI-Powered Chatbots for Instant Support
Integrate an AI chatbot, like those offered by Intercom or Drift, directly into your product interface. Configure the chatbot to recognize common onboarding queries and provide immediate, relevant answers. For example, if a user types “how to add a team member,” the chatbot should instantly provide a link to the relevant knowledge base article or even initiate a mini-product tour for that specific function. IntelliGuide AI can feed user context (e.g., current step in onboarding, features used) to the chatbot, allowing for highly personalized and efficient assistance.
5.2 Use Predictive Analytics for Churn Prevention
IntelliGuide AI’s “Predictive Analytics” module, accessible from the main dashboard, uses machine learning to identify users at risk of churning. It analyzes factors like declining feature usage, low login frequency, and failure to complete key onboarding milestones. When a user is flagged as “at risk,” trigger a targeted intervention. This could be a personalized email from a customer success manager offering a quick call, an in-app message highlighting a feature they haven’t used yet, or a discount offer for upgrading their plan. This proactive approach can significantly impact retention rates, often reducing churn by 10-15% according to industry benchmarks.
5.3 Schedule Automated Follow-Up and Re-Engagement Journeys
Beyond the initial onboarding, create additional AI-driven journeys for ongoing engagement. For example, a “Feature Adoption” journey could trigger after 30 days of active use, introducing users to more advanced functionalities relevant to their usage patterns. A “Seasonal Update” journey could highlight new features relevant to specific times of the year (e.g., tax season features for accounting software). These automated, personalized touchpoints ensure users continue to discover value and remain engaged with your product, fostering long-term loyalty and sustained user adoption.
Building a truly smooth AI-driven onboarding experience demands a strategic approach, careful configuration, and a commitment to continuous improvement. By focusing on user segmentation, dynamic journey design, strong data integration, and persistent optimization, you can transform initial user interactions into lasting customer relationships. This isn’t about automating a process. It’s about intelligently guiding users to success.
What is time to first value (TTV) in AI onboarding?
Time to first value (TTV) measures how quickly a new user experiences the core benefit or “aha!” moment of your product. In AI onboarding, the goal is to reduce this time by guiding users directly to the features that deliver this initial value, often through personalized product tours and content.
How can I segment users effectively for AI onboarding?
Effective user segmentation for AI onboarding involves analyzing demographic data, psychographics, and initial behavioral patterns. Use attributes like user role, industry, company size, and stated goals during signup to create distinct personas, each with a tailored onboarding journey. Integrate data from your CRM to enrich these segments.
What kind of data should I integrate with my AI onboarding platform?
You should integrate data from your CRM (e.g., user profiles, purchase history), analytics platforms (e.g., in-app behavior, feature usage), and any other systems that provide user context. This data allows the AI to make informed decisions about personalization, content recommendations, and behavioral triggers within the onboarding journey.
How often should I A/B test my AI onboarding flows?
A/B test your AI onboarding flows continuously. Start with critical steps that have high drop-off rates or significant impact on conversion. Once a test concludes, implement the winning variation and move to the next area for optimization. The market and user behaviors are dynamic, so your onboarding should be too.
Can AI onboarding prevent customer churn?
Yes, AI onboarding can significantly contribute to churn prevention. By using predictive analytics to identify at-risk users based on their engagement patterns, the AI platform can trigger proactive interventions such as personalized support messages, relevant feature highlights, or direct outreach from customer success, addressing potential issues before they lead to churn.


